
It’s easy to overdo animations. When they are executed poorly, they feel like speed bumps—distracting from the content and making the site feel laggy.
But when they’re done with intention? They elevate your design, help tell your brand’s story, and guide your user’s eyes exactly where they need to go.
And the best part? You don’t need to write a single line of custom CSS or HTML. These are all completely no-code website animations built directly into the native Squarespace Fluid Engine interface.
If you are currently building a site, a good rule of thumb is to think about animation last. Focus on your content first, then your layout design, and finally, use subtle movement to bring it all together.
In Squarespace’s native editor, you have access to create these 3 animation triggers that can completely change how a page feels, all without writing code. Let’s look at what they are, when to use them, and why they work.
1. On-Load Animations: Making a Great First Impression
An on-load animation is the very first thing a visitor sees when your page loads. Because this is your user’s introduction to your site, speed is everything.
- The Goal: Keep it quick and simple.
- The Trap: If you delay your headline or your main Call-to-Action (CTA) button for too long with a slow fade-in, the user has to wait. That wait makes your site feel slow or even broken.
- How to think about it: Use subtle on-load animations (like a fast, gentle offset or a quick opacity fade using the native Squarespace panel) to make the page feel active the moment it loads, without making your visitor wait to take action.
2. Scroll-Triggered Animations: Intentional Storytelling
Scroll-triggered animations wait quietly until a user scrolls to a specific point on your page, and then they fire.
- The Goal: Create a sense of discovery as the user moves down the page.
- The Trap: Letting them fire every single time someone scrolls up and down. If a headline pops out every time a user fidgets with their scroll wheel, it quickly becomes annoying.
- How to think about it: Set your scroll-triggered animations to play only once. In Squarespace, you can control the exact percentage of the screen an element needs to pass before the animation triggers (like 20% from the bottom of the viewport). This ensures the element animates exactly when it is in the reader’s line of sight—not a second before, and not a second after.
Squarespace Interface Tip: Animating an image is straightforward, but for text blocks, the settings are tucked away slightly differently. You don’t need code; just click the Style Background icon first to find the native animation settings.
3. Scroll-Linked Animations: Interactive & Fluid Movement
Unlike scroll-triggered animations (which play on their own once activated), scroll-linked animations are tied directly to the user’s scrollbar. If the user stops scrolling, the animation stops. If they scroll backward, the animation plays in reverse.
- The Goal: Create immersive, interactive depth (like a classic parallax background or numbers that slide into place as you pass by).
- The Trap: Performance issues. Linking too many moving elements to the scrollbar can cause rendering lag, especially on older mobile devices.
- How to think about it: Use scroll-linked transitions sparingly. When used on just one or two key sections—like a stats grid or a contact form border—it makes the website feel incredibly high-end and responsive to the user’s touch, completely code-free.
See Them in Action: The Full Walkthrough
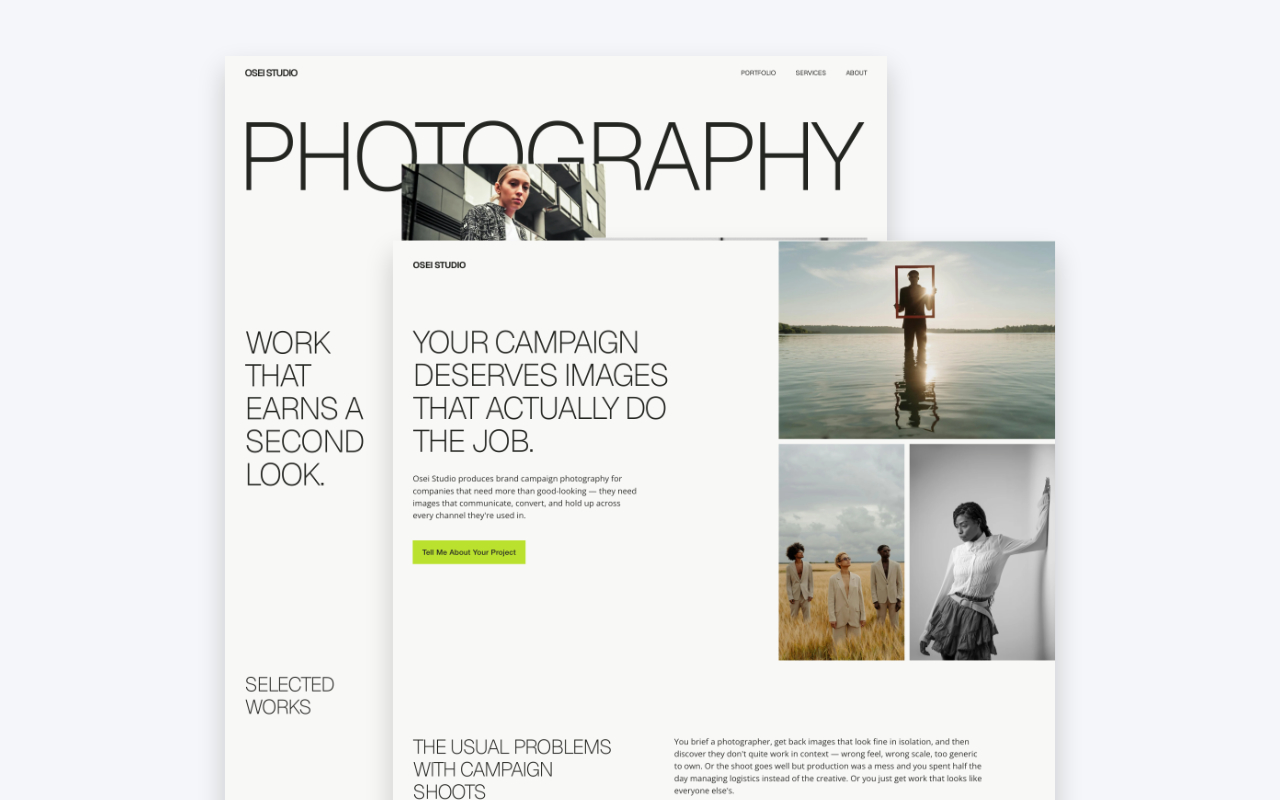
In the video below, I walk you through a custom portfolio template I’ve been designing. I’ll show you the exact backend settings, how to adjust the screen percentages, and how to mix these three triggers together without overwhelming your design.
If you’re just getting started with website animation, my advice is to pick just one of these triggers. Get comfortable adjusting its timing and physics in the editor. Once that feels natural, start experimenting with how they can work together to guide your users seamlessly down the page.