We’ve all been there: you open up Figma to start a fresh project, and your brain immediately switches into “system mode.” You start thinking about auto-layouts, component variants, and responsive grids. While that structural thinking is incredible for building functional apps, it can accidentally kill raw creativity when you’re trying to build something deeply expressive.
I recently challenged myself to design a creative concept site completely free of images—relying entirely on typography, graphics, and custom animations. Instead of opening my usual UI tools first, I started the entire process in Affinity Designer.
It completely changed how I approached the project. If you are feeling creatively stuck or find your designs looking a bit too predictable, taking a step back into a vector drawing tool might be exactly what you need. Here is a high-level overview of how this unique workflow came together, and how it can shift your design perspective.
Phase 1: Storyboarding the Scene in Affinity Designer
Because Affinity is a dedicated graphic design and drawing tool, it forces you to think like a graphic designer rather than a UI engineer.
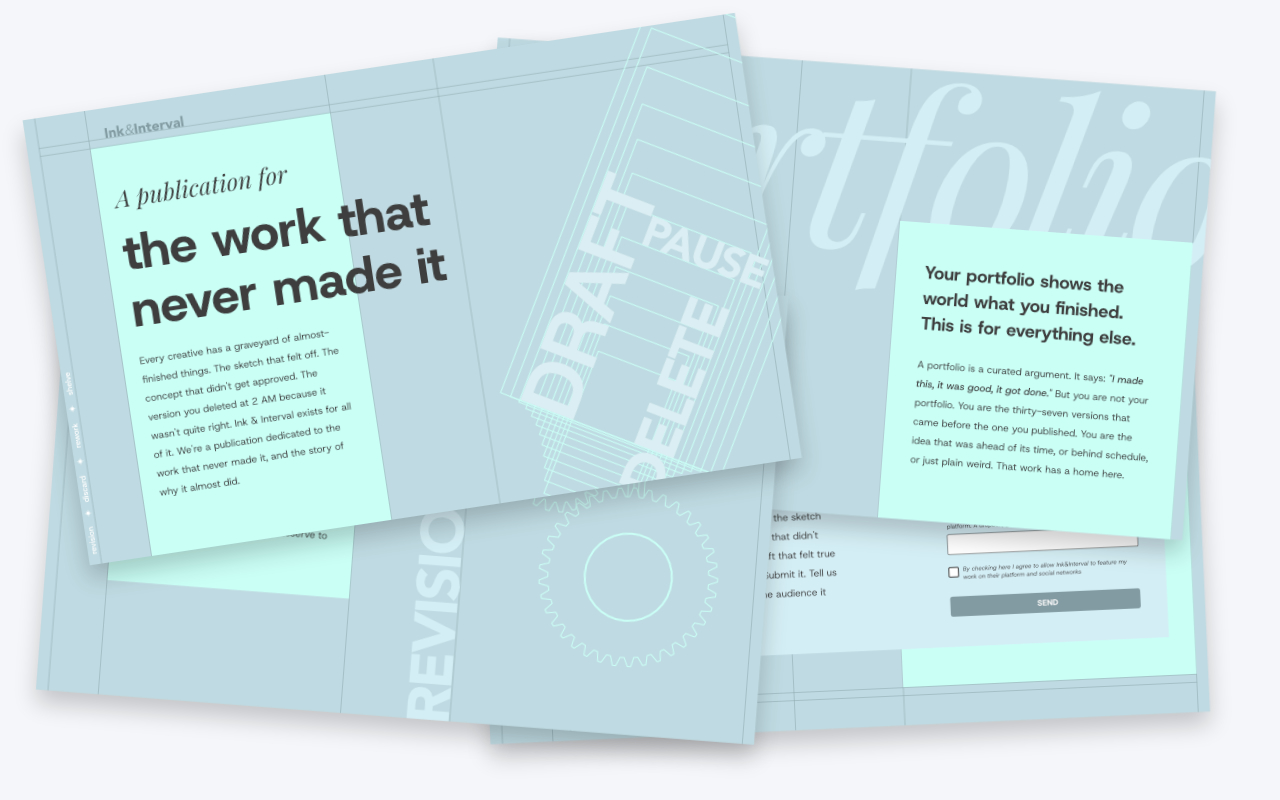
Instead of building a standard web layout, I treated the project like a storyboard. I designed each artboard as an individual “scene” in a sequence. This approach allowed me to focus purely on the emotional and visual impact of each individual moment, making sure every section could stand completely on its own as a piece of art. Working without photos meant relying heavily on vector illustrations and typography.
Phase 2: Migrating to Figma for Pacing and Motion
Once the storyboard felt solid, it was time to bring everything into Figma to tackle the actual pacing, layout, and motion.
The migration from Affinity to Figma turned out to be smoother than I imagined. You can copy your vector artwork directly out of Affinity and paste it straight into Figma. It keeps your layer names and group structures perfectly intact, and the assets remain fully editable vectors.
To keep the layout precise, I set up the exact same column and row grid in Figma that I used in Affinity. My initial prototyping phase usuallys starts bare-bones:
- I stripped away the complex graphics to focus strictly on the raw transitions between frames.
- I used simple click interactions to test moving down the page, and a drag-up feature to test scrolling back up.
Getting a feel for the physical momentum of the page early on tells you exactly how the final animation should behave.
Phase 3: Hitting a Wall with Smart Animate (and the Workaround)
After dialing in the basic pacing, I brought the vector art over from Affinity and added a few in-between frames to gain tighter control over the motion. That’s when I hit a roadblock with smart animate.
I had an graphic of mechanical gears that I wanted to continuously spin and loop in the background. However, Figma’s Smart Animate is inherently linear—it moves from Point A to Point B once per transition. It can’t natively handle an independent, infinite background loop while the rest of the page is animating.
To get around this limitation, I used a component-driven workaround:
- Isolate the Graphic: I broke the illustration apart into its individual moving pieces.
- Create Component Sets: I turned each piece into its own component set.
- Loop via “After Delay”: Inside each component, I chained a series of “After Delay” interactions moving through different rotational states (0°, 90°, 180°, and 270°).
- Vary the Speeds: Because they were independent components, I could make the gears and pumps move at completely different, realistic speeds.
Once assembled back into the main layout, the graphics looped endlessly on their own, completely independent of the overarching page transitions.
Staging a Sequence vs. Building a Page
The final prototype came together smoothly. This workflow isn’t necessary for every single project, but stepping out of Figma’s UI patterns allowed me to stage a visual sequence rather than just layout a standard web page.
If you want a detailed look at the exact step-by-step transition mechanics, how the vector layers copy over, or want to see the final animated gear layout running live, be sure to watch the full video walkthrough below.